Welcome to MIKROS! Your journey to getting insightful and actionable analytics has just begun. This guide is designed to demonstrate how to add MIKROS to your app and begin logging events.
MIKROS is a service that aims to provide a wide functional set. With minimal setup, tracking real-time user behaviors becomes easy-peasy! MIKROS offers the ability to monitor traffic sources, track where users come from, and even predict the likelihood any particular user would have an interest in your product or has a high propensity to spend in your product based on their gaming history. There are a lot of other features offered by MIKROS as a service, including direct advertising campaigns and quicker mobile game development due to the out-of-box chat, achievements, leaderboard, registration/authentication, in-app-purchases and many more features.
MIKROS sorts users by spend and activity levels. This is done across our ecosystem, which differs from how data is managed today by competitor platforms who do not offer any data pooling. Then game developers and advertisers can view reports in a dashboard so that they can better understand their users' behavior across many games and pinpoint areas to improve their customer experience. Advertisers can now be certain that their ads are being shown to verified spenders.
While signed into the MIKROS dashboard create your first project!
The process of creating a project is filling out a brief form that includes details about your company and product. Some of the product information we collect are description, package name/bundle id, product assets, content descriptions, ect. All of this information is used by our patented technology to better understand how to best serve your company’s interests and improve your business bottomline.
Note: When creating your project be mindful of our App Review Guidelines. All created projects undergo a review process to ensure the content in your project is appropriate and safe. For more details about our app review process, click here.
The review process can take up to 24-48 hours. If your app is rejected, you will receive a detailed email and notifications explaining the reason(s). You will then have to make the appropriate adjustments to reinitiate the approval process.
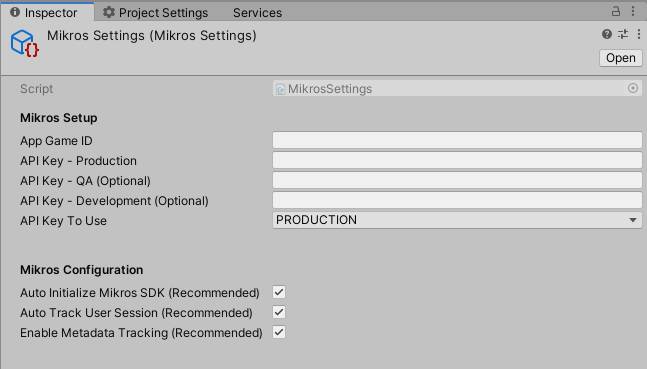
Now that your app is approved, the following keys and tokens will automatically be generated:
The issued AppGameID is an unique identifier that represents your product.
Note: It is important to keep your AppGameID secure and safe.
The AppGameID is used for binding your app to the MIKROS ecosystem. This identifier has alternate usages as well. For example, you can use your issued AppGameID to connect your own products together if you choose to. Let's say you want to hold a competitive event amongst all users from Product A against all users from Product B. Your AppGameIDs is what makes this magic possible. MIKROS is the only service that allows not only cross-platform interconnectivity, but also cross-product interconnectivity.
The Production API Key is meant to be a secret that only the client and service know. The API Key is important for security and classifying environments. By default we will generate Production API Keys, but you can manually generate API Keys for your other development environments e.g. Development and/or QA.
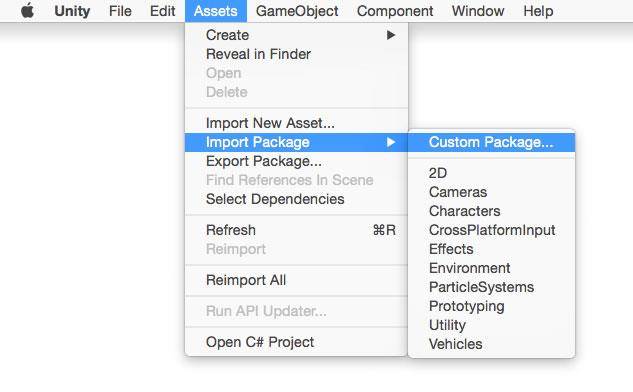
With the following steps, you can integrate the MIKROS SDK into your gaming product.
Note: You will need to remove previously integrated MIKROS SDK packages before importing a newer version.
Import the assets in the package.
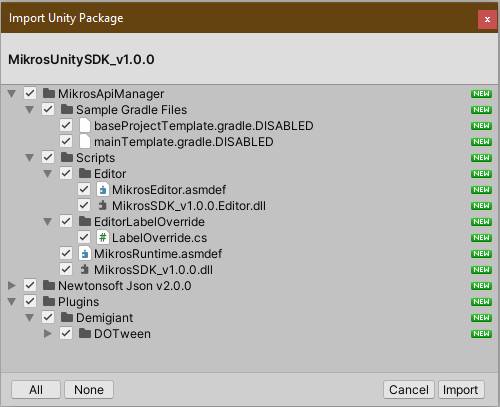
These are the contents of the MIKROS SDK. You will notice that we include some 3rd party plugins such as Newtonsoft JSON and DOTween.
Note: If your project also includes any of these dependencies you can uncheck them and then continue with the importing process.

There are some dependencies of some gradle files for native Android support. These are automatically generated and added to the path, Assets\Plugins\Android, after successfully importing the MIKROS SDK into your project. In case you need to generate any of these files manually, you can do so from the Native Dependency Setup.
